Python Celery Tasks: delay vs apply_async
python celery tasks delay and apply_async: Understand the difference between Celery's delay and apply_async methods, how to pass options, and when to use each for reli...
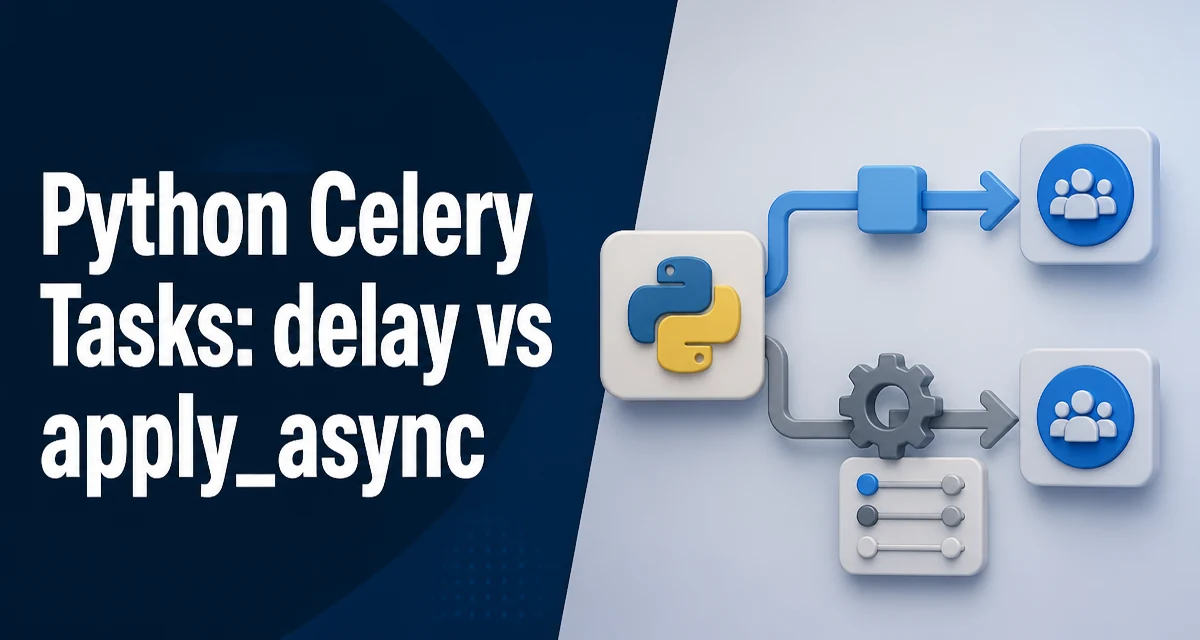
python celery tasks delay and apply_async requires a clear understanding of the core syntax, runtime behavior, and practical implementation patterns demonstrated in the examples below.
When you define a task in Celery, you get two main ways to send it to the broker: delay and apply_async. Both schedule the task for execution, but they differ in flexibility and the options they accept. Understanding these differences is essential for building reliable asynchronous workflows in Python.
The Two Ways to Call a Celery Task
Celery tasks are callable objects. Calling a task directly executes it synchronously in the current process. To execute asynchronously, you must send a message to the broker using delay or apply_async. The broker then delivers the task to a worker process.
from celery import Celery

app = Celery('tasks', broker='redis://localhost:6379/0')

@app.task
def add(x, y):
    return x + y
After defining add, you can call add.delay(2, 2) or add.apply_async((2, 2)). Both return an AsyncResult object that tracks the task's state.
The core difference is that apply_async accepts a wide range of execution options, while delay is a shortcut that only supports positional and keyword arguments for the task itself. delay internally calls apply_async with no extra options.
What delay Actually Does
delay is the simplest way to enqueue a task. It takes the same arguments as the task function and sends them to the broker immediately.
result = add.delay(2, 2)
print(result.id)  # UUID of the task
The implementation is essentially:
def delay(self, *args, **kwargs):
    return self.apply_async(args, kwargs)
Because delay passes no execution options, it is ideal for quick, fire-and-forget tasks where you don't need to control scheduling, retries, or routing. It keeps the call site clean and readable.
However, delay has a limitation: you cannot pass options like countdown, eta, expires, or queue. If you need any of those, you must use apply_async.
What apply_async Adds
apply_async is the full-featured method for task scheduling. It accepts the task arguments as a tuple and keyword arguments as a dictionary, plus a set of execution options.
result = add.apply_async((2, 2), countdown=10, queue='high_priority')
The most commonly used options include:
countdown: delay task execution by N seconds.eta: schedule the task for a specific datetime.expires: set an expiry time after which the task is discarded.queue: route the task to a specific queue.retry: enable automatic retries on failure.retry_policy: control retry behavior (max retries, interval, etc.).priority: set the task priority (if supported by the broker).
These options give you fine-grained control over how and when tasks run, which is crucial for production systems.
Passing Execution Options
When using apply_async, you separate the task arguments from the execution options. The first positional argument is a tuple of positional arguments for the task, and the second is a dictionary of keyword arguments.
# Task function signature: def add(x, y)
result = add.apply_async((2, 2), {'verbose': True}, countdown=5)
If you have no keyword arguments for the task, you can omit the second argument:
result = add.apply_async((2, 2), countdown=5)
For a task that only takes keyword arguments, pass an empty tuple:
@app.task
def send_email(to, subject):
    pass

result = send_email.apply_async((), {'to': 'a@b.com', 'subject': 'Hello'})
You can also use the args and kwargs keyword arguments explicitly:
result = add.apply_async(args=(2, 2), kwargs={}, countdown=5)
This is equivalent to the positional form and can improve readability when there are many options.
Handling Errors and Retries
apply_async lets you define retry behavior directly in the call, which is often cleaner than handling retries inside the task body. The retry option enables automatic retries, and retry_policy controls the schedule.
result = add.apply_async(
    (2, 2),
    retry=True,
    retry_policy={
        'max_retries': 3,
        'interval_start': 0,
        'interval_step': 2,
        'interval_max': 10,
    }
)
This tells the worker to retry the task up to three times if it fails, with exponential backoff. The retry_policy keys are standard Celery options.
If you need to retry based on a custom condition, you can still use task.retry() inside the task body. But for simple transient failures, the automatic policy is often sufficient.
One subtle point: when you use retry=True, the task must be configured to handle retries. If the task raises an exception, the worker will catch it and schedule a retry according to the policy. If the task succeeds, no retry occurs.
Production Considerations
Choosing between delay and apply_async has operational implications. delay is convenient but hides the execution options. If you later need to add a countdown or a queue, you must change the call site to apply_async. That's a straightforward refactor, but it can be easy to miss if delay is scattered across the codebase.
In production, you often want to set a default queue or a default time limit. You can do this in the task decorator itself:
@app.task(queue='default', time_limit=30)
def add(x, y):
    return x + y
Then add.delay(2, 2) will use the queue defined in the decorator. But if you need per-call overrides, apply_async is the only way.
Another consideration is observability. When you use apply_async, you can pass a task_id explicitly, which is useful for correlating tasks with external systems:
import uuid

task_id = str(uuid.uuid4())
result = add.apply_async((2, 2), task_id=task_id)
This is not possible with delay because it generates a random ID internally.
Finally, be aware that apply_async is more verbose. For simple tasks where none of the extra options are needed, delay keeps the code readable. The rule of thumb: use delay for simple fire-and-forget calls, and apply_async when you need to control scheduling, routing, or retries.
Understanding the difference between these two methods prevents subtle bugs. For example, forgetting that delay does not accept a countdown argument will raise a TypeError at runtime. Knowing the API boundaries helps you write correct, maintainable Celery code from the start.