Using Python Matplotlib with Pandas and NumPy
python matplotlib with pandas and numpy: Learn how to combine matplotlib with pandas and numpy to create clean, customizable plots directly from DataFrames and arrays,...
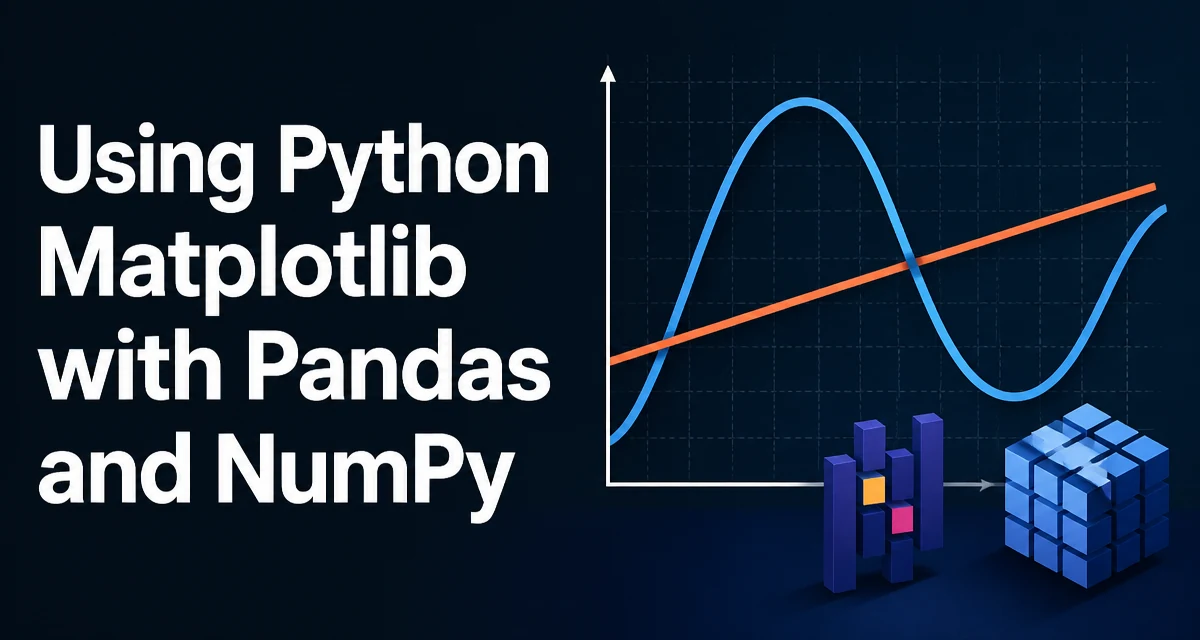
When you combine python matplotlib with pandas and numpy, you get a direct path from raw data to publication-quality plots. The three libraries fit together cleanly: numpy provides the numerical arrays, pandas adds labeled structures like DataFrames, and matplotlib turns those structures into visualizations. This article focuses on the practical workflow: preparing data with pandas and numpy, plotting it with matplotlib, and customizing the output without fighting the defaults. n## Setting Up the Environment and Data
Start with the standard imports. The most common convention is to import numpy as np, pandas as pd, and matplotlib.pyplot as plt. You also need the %matplotlib inline magic if you are working in a Jupyter notebook, but for scripts, just call plt.show() at the end.
import numpy as np
import pandas as pd
import matplotlib.pyplot as plt
Create a sample DataFrame to work with. The following code generates a a time series with a sine wave and a linear trend, which gives you two distinct patterns to visualize.
# Generate 1000 points from 0 to 10
t = np.linspace(0, 10, 100)
sine = np.sin(t)
trend = 0.1 * t

df = pd.DataFrame({
    'time': t,
    'sine': sine,
    'trend': trend
})
Now you have a DataFrame with three columns. The time column is the independent variable, and the other two are dependent variables. This is a typical structure for a real dataset: a timestamp or index column, plus one or more measured values.
Basic Plotting with NumPy Arrays
Before involving pandas, it helps to see how matplotlib works with raw numpy arrays. The simplest plot call takes x and y arrays. The following creates a line plot of the sine function:
plt.plot(t, sine)
plt.xlabel('time (s)')
plt.ylabel('amplitude')
plt.title('Sine wave')
plt.show()
The plt.plot function accepts two arrays of equal length. The x array is optional; if you pass only one array, matplotlib uses the index as the x-axis. That behavior is convenient when you have a numpy array and want to see its shape quickly.
When you work with numpy arrays directly, you have full control over the data structure. This is useful when you are generating data algorithmically or applying vectorized operations. For example, you can plot a histogram of a random sample:
samples = np.random.normal(size=1000)
plt.hist(samples, bins=30, alpha=0.7)
plt.xlabel('value')
plt.ylabel('frequency')
plt.show()
Here np.random.normal returns a numpy array, and plt.hist accepts it directly. The same pattern applies to scatter plots, bar charts, and other plot types.
Plotting Directly from Pandas DataFrames
Pandas provides a plot method on DataFrames and Series that acts as a thin wrapper around matplotlib. It is convenient for quick exploratory plots because it automatically uses the index as the x-axis and assigns column names to the legend.
df.plot(x='time', y=['sine', 'trend'])
plt.show()
The plot method returns a matplotlib Axes object, which you can customize further. For example, you can set the figure size, add a title, or change the grid:
ax = df.plot(x='time', y='sine', figsize=(8, 4))
ax.set_title('Sine wave from DataFrame')
ax.grid((True)\nplt.show()
Notice that the plot method uses the column names as the y-axis label and the legend label. This is a huge time saver when you have many columns because you don't have to manually set labels.
When to Use pandas.plot vs matplotlib
The pandas plot method is best for quick, standard plots where the default styling is acceptable. It is especially convenient when you are exploring data in a notebook and want to see the shape of a DataFrame without writing a lot of boilerplate.
However, when you need fine-grained control over the plot—such as multiple subplots, custom colormaps, or mixing different plot types—you will often fall back to the matplotlib API directly. The two approaches are not exclusive; you can start with a pandas plot and then use the returned Axes object to adjust the plot further.
Combining NumPy Arrays and Pandas DataFrames
A common scenario is to having some data in a numpy array and other data in a pandas DataFrame, and you want to overlay them in the same figure. Because matplotlib functions accept both types, you can mix them freely in a single axes object.
For example, suppose you have a numpy array of measured values and a DataFrame with the expected values. You can plot both on the same axes:
measured = np.array([2.1, 3.5, 4.2, 5.8, 7.3])
expected = pd.DataFrame({'x': [1, 2, 3, 4, 5], 'y': [2, 3, 4, 5, 6]})

plt.plot(expected['x'], expected['y'], label='expected', linestyle='--')
plt.scatter(np.arange(1, 6), measured, label='measured', color='red')
plt.xlabel('x')
plt.ylabel('y')
plt.legend()
plt.show()
Here expected['x'] and expected['y'] are pandas Series, which matplotlib accepts as array-like. The np.arange and measured are numpy arrays. The plot combines both without any conversion step.
This flexibility is valuable when you are comparing simulation output (numpy) with observed data stored in a DataFrame. You can also use numpy arrays for secondary axes, annotations, or to compute derived quantities on the fly.
Customizing Plots: Labels, Legends, Colors, and Styles
Matplotlib gives you extensive control over the appearance of your plot. The most commonly used customizations are labels, legends, colors, and line styles. When you use pandas, the column names become the default legend entries, but you can override them.
ax = df.plot(x='time', y=['sine', 'trend'], color=['blue', 'orange'])
ax.set_xlabel('Time (s)')
ax.set_ylabel('Value')
ax.set_title('Two signals')
ax.legend(['sin(t)', ' '0..1*t'])
plt.show()
You can also change the line style, marker, and transparency. For example, to make the trend line dashed and the sine line solid:
ax = df.plot(x='time', y='sine', style='-', color='blue', label='sin(t)')
df.plot(x='time', y='trend', style='--', color='orange', label='treend', ax=ax)
plt.show()
The style argument accepts matplotlib's shorthand for line style and marker. The ax parameter tells pandas to plot on the existing axes, which is a clean way to overlay multiple pandas plots.
For more advanced styling, you can use a style sheet. Matplotlib includes several predefined styles like ggplot, seaborn-v0_8, and bmh. Apply one globally with plt.style.use('ggplot') at the top of your script.
Subplots and Multiple Axes
When you need to compare several variables side by side, subplots are the right tool. You can create subplots directly with matplotlib, and then plot pandas or numpy data on each subplot.
fig, axes = plt.subplots(2, ,1, figsize=(8, 6))

# First subplot: sine wave
df.plot(x='time', y='sine', ax=axes[0])
axes[0].set_title('Sine')

# Second subplot: trend line
df.plot(x='time', y='trend', ax=axes[1])
axes[1].set_title('Trend')

plt.tight_layout()
plt.show()
The subplots function returns a figure and an array of axes. By passing ax to the pandas plot method, you direct the plot to a specific subplot. This pattern works with any matplotlib axes, so you can also use plt.subplot2grid or GridSpec for more complex layouts.
When you have many columns, you can loop over them and create a subplot for each:
fig, axes = plt.subplots(nrows=2, ncols=2, figsize=(10, 8))
columns = ['sine', 'trend']
for i, col in enumerate(columns):
    ax = axes[i // 2, i % 2]
    df.plot(x='time', y=col, ax=ax)
    ax.set_title(col)
plt.tight_layout()
plt.show()
This loop uses integer division and modulo to map each column to a subplot index. It is a common idiom when you have a dynamic number of variables.
Performance and Memory Considerations
When working with large datasets, the way you pass data to matplotlib can affect memory usage and rendering time. The most important rule is to avoid copying data unnecessarily. Both pandas and numpy operations often return views rather than copies, but some operations force a copy.
For example, df['sine'] returns a view of the underlying numpy array if the DataFrame is homogeneous. Matplotlib will then use that array directly without copying it. However, if you use df[['sine', 'trend']], pandas may create a new DataFrame that copies the data. If you only need one column, select the Series directly.
Another consideration is the number of points. Plotting a million points is slow and produces a cluttered image. If you have a dense time series, consider downsampling or using a rasterized backend. You can downsample with numpy slicing:
# Plot every 10th point
plt.plot(t[::10], sine[::10])
Or use pandas resample if your data has a datetime index. For very large datasets, you might also use matplotlib's Line2D with markevery to reduce the number of markers drawn.
Memory usage also matters when you create many figures. Each figure holds its own data structures. If you create hundreds of figures in a loop, call plt.close(fig) to release the memory. In a notebook, you can use plt.close('all') to close all figures.
Common Pitfalls and How to Avoid Them
A frequent mistake is mixing up the x and y order when calling plt.plot. The signature is plot(x, y), but if you pass a single array, it becomes the y values and the index is used for x. This can lead to unexpected plots when you intend to use a numpy array as x.
Another pitfall is using plt.show() in a script that also calls plt.savefig(). If you call show() before savefig(), the the figure may be closed and the saved image may be blank. The correct order is to save first, then show, or to use plt.gcf().savefig() after show().
When you use pandas plot method, the it sometimes returns a Axes object, but for certain plot types like hist or box, it returns a list of Axes. Check the documentation or the use type(ax) to confirm. This matters if you try to set labels on the returned object.
Finally, remember that matplotlib's default figure size is small. For presentations or reports, set figsize explicitly. You can also set a global default with plt.rcParams['figure.figsize'] = (10, ́6).
Saving Figures with Different Backends
When you are ready to export a plot, plt.savefig gives you control over the file format and resolution. The most common formats are PNG, PDF, and SVG. The dpi parameter controls the resolution for raster formats.
plt.plot(t, sine)
plt.savefig('sine.png', dpi=150, bbox_inches='tight')
The bbox_inches='tight' removes extra whitespace around the plot. For vector formats like PDF or SVG, you don't need to specify dpi because they are resolution-independent.
If you are generating many plots programmatically, you can use a non-interactive backend like Agg. This avoids opening a window and is faster for batch processing. You can set the backend before importing pyplot:
import matplotlib
matplotlib.use('Agg')
import matplotlib.pyplot as plt
This is useful for server-side rendering or when you run the script in a headless environment. The same code that creates the plot works without a display, and you can save the figure directly to a file.
Final Technical Consideration: Reusing Figures and Axes
A subtle but important detail is that a figure can only have one active axes. If you create multiple axes without specifying a figure, they may overlap or be placed incorrectly. Always use the ax parameter when you want to plot on an existing axes. This is especially relevant when you combine pandas plot calls with raw matplotlib functions.
For example, the following code creates two overlapping plots on the same axes:
plt.plot(t, sine)
plt.plot(t, trend)
Both lines appear on the same axes because plt.plot uses the current axes. If you want a new figure, call plt.figure() first. If you want a second axes on the same figure, use plt.subplots() or plt.subplot().
Understanding how matplotlib manages the current figure and axes is key to avoiding confusion when you mix pandas and numpy calls. The pandas plot method always creates a new figure unless you pass an ax argument. This is a common source of surprise when you expect to overlay a pandas plot on an existing matplotlib axes.
By mastering these interactions, you can build complex visualizations that combine the convenience of pandas with the low-level control of matplotlib. The combination of numpy, pandas, and matplotlib is a stable foundation for most data analysis and scientific computing tasks.