Python OpenCV Morphology and Image Preprocessing
python opencv morphology and image preprocessing: Learn how to apply morphological operations in OpenCV for image preprocessing: erosion, dilation, opening, closing, a...
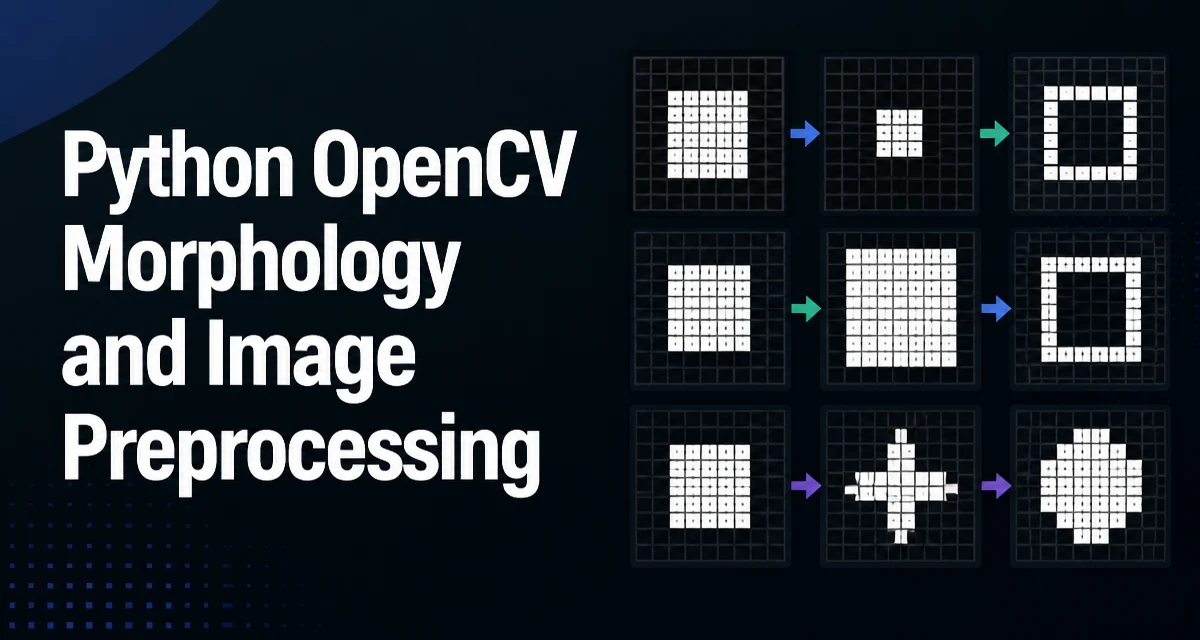
Python OpenCV morphology and image preprocessing go hand in hand when you need to clean up binary masks, remove noise, or highlight specific structures before further analysis. Morphological operations are a set of image processing techniques that process images based on their shape. In OpenCV, these operations are implemented in the cv2 module and are commonly used in preprocessing pipelines.
Why Morphology Matters in Image Preprocessing
Morphological operations are particularly useful for binary images, but they also work on grayscale images. They help you remove small artifacts, fill gaps, and emphasize boundaries. For a developer working with Python and OpenCV, understanding morphology is essential when you need to clean up segmentation masks, detect edges, or prepare images for OCR or object detection.
Core Operations: Erosion and Dilation
The two fundamental morphological operations are erosion and dilation. Erosion removes pixels from the boundaries of objects, while dilation adds pixels to the boundaries. The effect depends on the structuring element (kernel) used.
In OpenCV, you can apply erosion with cv2.erode() and dilation with cv2.dilate(). Both take the source image, a kernel, and optionally the number of iterations.
import cv2
import numpy as np

# Load a binary image
image = cv2.imread('mask.png', cv2.IMREAD_GRAYSCALE)
_, binary = cv2.threshold(image, 127, 255, cv2.THRESH_BINARY)

# Define a 5x5 kernel
kernel = np.ones((5,5), np.uint8)

# Apply erosion and dilation
eroded = cv2.erode(binary, kernel, iterations=1)
dilated = cv2.dilate(binary, kernel, iterations=1)
Erosion is useful for removing small white noise from a binary image, while dilation can fill small holes inside objects. The kernel size and shape directly control how much the boundaries change.
Opening and Closing: Combining Erosion and Dilation
Opening is erosion followed by dilation. It is typically used to remove small objects or noise while preserving the shape and size of larger objects. Closing is dilation followed by erosion, which helps fill small holes and connect nearby objects.
OpenCV provides cv2.morphologyEx() with the cv2.MORPH_OPEN and cv2.MORPH_CLOSE flags.
# Opening: erosion then dilation
opened = cv2.morphologyEx(binary, cv2.MORPH_OPEN, kernel)

# Closing: dilation then erosion
closed = cv2.morphologyEx(binary, cv2.MORPH_CLOSE, kernel)
Opening and closing are often used in preprocessing to clean up masks before feeding them to a model or an algorithm that expects connected regions.
Morphological Gradient, Top Hat, and Black Hat
Beyond the basic operations, OpenCV also supports morphological gradient, top hat, and black hat. These are useful for edge detection and contrast enhancement.
- Morphological gradient is the difference between dilation and erosion. It highlights the boundaries of objects.
- Top hat is the difference between the original image and its opening. It extracts small bright features.
- Black hat is the difference between the closing and the original image. It extracts small dark features.
# Morphological gradient
gradient = cv2.morphologyEx(binary, cv2.MORPH_GRADIENT, kernel)

# Top hat
tophat = cv2.morphologyEx(image, cv2.MORPH_TOPHAT, kernel)

# Black hat
blackhat = cv2.morphologyEx(image, cv2.MORPH_BLACKHAT, kernel)
These operations are particularly useful when you need to isolate specific structures, such as text from a textured background.
| Operation | Effect | Common Use |
|---|---|---|
| Erosion | Shrinks objects | Remove small noise |
| Dilation | Expands objects | Fill small holes |
| Opening | Erosion then dilation | Remove noise while preserving size |
| Closing | Dilation then erosion | Fill holes and connect objects |
| Gradient | Dilation minus erosion | Edge detection |
| Top Hat | Original minus opening | Extract bright features |
| Black Hat | Closing minus original | Extract dark features |
Structuring Elements: Shape and Size
The structuring element defines the neighborhood considered during the operation. OpenCV's cv2.getStructuringElement() lets you create rectangular, elliptical, or cross-shaped kernels.
# Rectangular kernel
rect_kernel = cv2.getStructuringElement(cv2.MORPH_RECT, (5,5))

# Elliptical kernel
ellipse_kernel = cv2.getStructuringElement(cv2.MORPH_ELLIPSE, (5,5))

# Cross-shaped kernel
cross_kernel = cv2.getStructuringElement(cv2.MORPH_CROSS, (5,5))
The choice of kernel shape affects how the operation treats corners and edges. For example, an elliptical kernel preserves circular shapes better than a rectangular one. The kernel size determines how aggressive the operation is; larger kernels have a stronger effect but also cost more computation.
Integrating Morphology into a Preprocessing Pipeline
In practice, you rarely apply a single morphological operation. A typical preprocessing pipeline might involve thresholding, then opening to remove noise, then closing to fill gaps, and finally using a gradient to highlight edges.
def preprocess(image_path):
    # Read and convert to grayscale
    img = cv2.imread(image_path, cv2.IMREAD_GRAYSCALE)
    # Apply adaptive thresholding
    thresh = cv2.adaptiveThreshold(img, 255, cv2.ADAPTIVE_THRESH_GAUSSIAN_C,
                                   cv2.THRESH_BINARY_INV, 11, 2)
    # Remove small noise with opening
    kernel = cv2.getStructuringElement(cv2.MORPH_ELLIPSE, (3,3))
    cleaned = cv2.morphologyEx(thresh, cv2.MORPH_OPEN, kernel)
    # Fill holes with closing
    cleaned = cv2.morphologyEx(cleaned, cv2.MORPH_CLOSE, kernel)
    return cleaned
This is a common pattern for document image preprocessing, where you need to isolate text or lines.
Performance and Memory Considerations
Morphological operations are pixel-wise and relatively fast, but they scale with image size and kernel size. A large kernel on a high-resolution image can become a bottleneck. If you are processing video frames in real time, consider using a smaller kernel or reducing the image resolution first.
Another consideration is that cv2.morphologyEx with large kernels can use significant memory because it internally creates intermediate images. For very large images, you might process them in tiles.
Common Pitfalls and How to Avoid Them
One common mistake is applying morphological operations to a color image without converting to grayscale. Most morphological functions expect a single-channel image. If you pass a three-channel image, OpenCV will process each channel independently, which often produces unexpected results.
Another issue is using a kernel that is too large for the objects you want to preserve. For example, if you are trying to remove noise from thin lines, a 5x5 kernel might erase the lines entirely. Always test with different kernel sizes and inspect the output.
Also, be aware that the border of the image is handled differently depending on the borderType parameter. By default, OpenCV uses cv2.BORDER_CONSTANT with a value of 0, which can create artifacts at the edges. For some applications, you may want to use cv2.BORDER_REFLECT to avoid edge distortion.
Choosing the Right Structuring Element for Your Task
The structuring element is not a one-size-fits-all choice. For square objects, a rectangular kernel works well. For circular or irregular shapes, an elliptical kernel is often better. If you need to preserve directional features, such as horizontal lines, a cross-shaped kernel oriented accordingly can be useful.
A practical approach is to start with a small elliptical kernel, evaluate the output, and increase the size or change the shape only if the result is insufficient. This keeps the preprocessing step both effective and computationally efficient.