Python OpenCV Perspective Transform
python opencv perspective transform: Learn how to apply a perspective transform in OpenCV with Python, including source and destination points, homography, and practic...
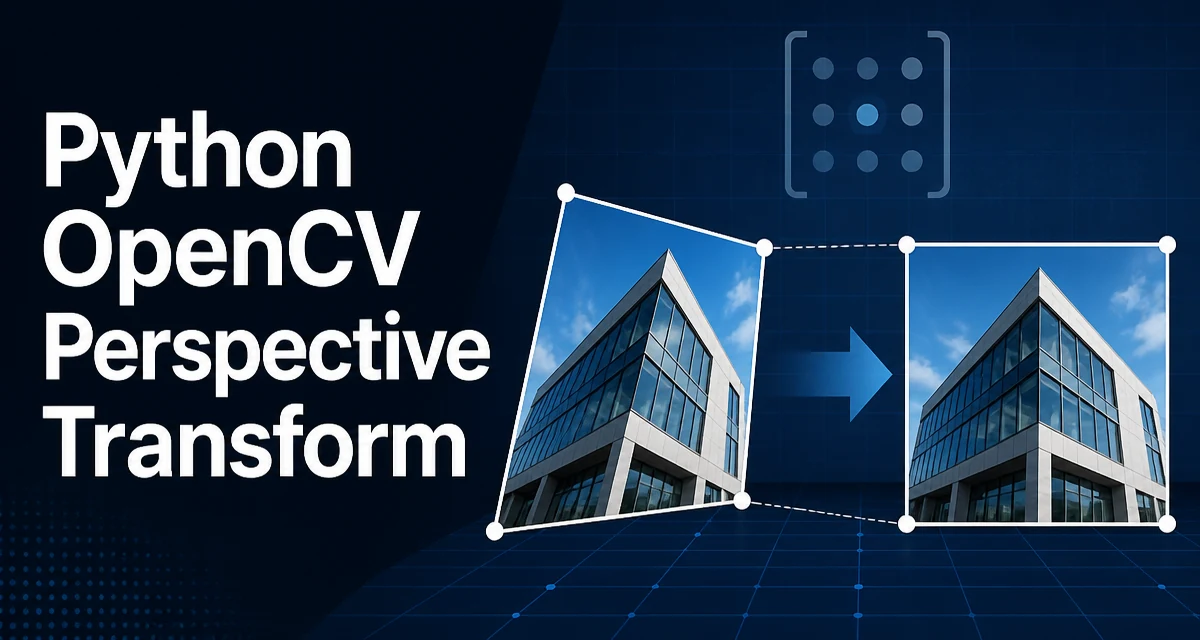
python opencv perspective transform requires a clear understanding of the core syntax, runtime behavior, and practical implementation patterns demonstrated in the examples below.
When working with images in Python, the OpenCV perspective transform is a core tool for correcting geometric distortions. It maps points from one quadrilateral to another using a 3x3 homography matrix. This is essential for tasks like document scanning, lane detection, and augmented reality, where you need to align a region of interest to a canonical view.
In this article, you will learn how to use cv2.getPerspectiveTransform and cv2.warpPerspective to perform a perspective transform in Python. We'll cover point selection, matrix computation, warping, common pitfalls, and when a perspective transform is the right choice compared to an affine transform.
Understanding the Perspective Transform and Homography
A perspective transform is a projective mapping that preserves straight lines but does not necessarily preserve parallelism or angles. It is defined by a 3x3 homography matrix H that relates points in the source image (x, y) to points in the destination image (u, v):
[u, v, w] = H * [x, y, 1]
The actual coordinates are obtained by dividing by w (the homogeneous coordinate). This allows the transform to represent effects like foreshortening, which a simple affine transform cannot.
In OpenCV, you do not need to work with the matrix directly. You provide four corresponding point pairs—the corners of a quadrilateral in the source image and the corners of the target quadrilateral—and OpenCV computes the homography for you.
Selecting Source and Destination Points
The accuracy of a perspective transform depends entirely on the point pairs you choose. The source points are typically the corners of the region you want to extract from the original image. The destination points define where those corners should land in the output image.
For a document scan, the source points might be the detected corners of the paper, and the destination points would be the corners of a rectangle with the desired output dimensions, for example (0, 0), (width, 0), (width, height), (0, height). The order of the points must be consistent between source and destination; otherwise, the output will be skewed or mirrored.
A common convention is to list points in clockwise order starting from the top-left. If you are using a point detection algorithm, you may need to sort the points to ensure they are in the correct order.
Computing the Transform Matrix with cv2.getPerspectiveTransform
The function cv2.getPerspectiveTransform takes two arrays of four points and returns the 3x3 homography matrix. Here is the signature:
import cv2
import numpy as np

src = np.array([[50, 50], [200, 50], [200, 200], [50, 200]], dtype=np.float32)
dst = np.array([[0, 0], [300, 0], [300, 300], [0, 300]], dtype=np.float32)

matrix = cv2.getPerspectiveTransform(src, dst)
The points must be of type float32 or float64. The order of the points in src and dst must correspond: the first point in src maps to the first point in dst, and so on. If the points are not in the same order, the resulting transform will produce a twisted output.
The returned matrix is a 3x3 NumPy array. You can inspect it, but in most cases you will pass it directly to cv2.warpPerspective.
Applying the Transform with cv2.warpPerspective
Once you have the homography matrix, you can apply it to the entire image using cv2.warpPerspective. The function takes the source image, the matrix, and the output size, and returns the warped image.
warped = cv2.warpPerspective(image, matrix, (300, 300))
The output size is a tuple (width, height). The destination points you defined earlier determine the content of the output. If you set the destination to a rectangle of size (300, 300), the warped image will be 300x300 pixels, and the source region will be mapped to fill that area.
cv2.warpPerspective also accepts optional parameters for interpolation and border handling. The default interpolation is cv2.INTER_LINEAR, which is suitable for most cases. For downscaling, cv2.INTER_AREA may produce better results, while cv2.INTER_CUBIC can be used for upscaling but is slower.
Practical Example: Correcting a Document Photo
Let's put the pieces together with a realistic example. Suppose you have a photo of a document taken at an angle, and you want to produce a flat, top-down view.
First, you need to detect the corners of the document. For simplicity, we'll assume the corners are already known, but in a real application you might use edge detection or a contour-finding algorithm.
import cv2
import numpy as np

# Load the image
image = cv2.imread('document.jpg')
height, width = image.shape[:2]

# Source points: corners of the document in the image
src = np.array([[150, 80], [500, 120], [480, 600], [120, 550]], dtype=np.float32)

# Destination points: a rectangle with the desired output size
output_width = 400
output_height = 600
dst = np.array([[0, 0], [output_width, 0], [output_width, output_height], [0, output_height]], dtype=np.float32)

# Compute the homography
matrix = cv2.getPerspectiveTransform(src, dst)

# Apply the transform
warped = cv2.warpPerspective(image, matrix, (output_width, output_height))

# Save or display the result
cv2.imwrite('document_corrected.jpg', warped)
In this example, the source points are the detected corners of the document in the photo. The destination points form a rectangle with the desired aspect ratio. The warped image will contain the document as if it were photographed directly from above.
The order of the points is critical. If you accidentally swap two points, the output will be flipped or sheared. Always verify that the source points are in the same order as the destination points.
Common Pitfalls and Edge Cases
Perspective transform is straightforward, but several issues can cause unexpected results.
Incorrect Point Order
The most common mistake is providing points in inconsistent order. If you detect corners using a contour, the order may not be predictable. You should sort the points by their coordinates—for example, by sum of x and y to identify top-left, top-right, bottom-right, bottom-left—or use a more robust method like ordering by angle.
Degenerate Quadrilaterals
If any three of the four source points are collinear, the homography becomes singular and cv2.getPerspectiveTransform may produce a matrix that yields a blank or distorted output. This can happen if the document is photographed from an extreme angle or if the corner detection fails. Validate that the points form a convex quadrilateral before proceeding.
Output Size and Aspect Ratio
The destination points determine the output size. If you want to preserve the aspect ratio of the original object, you must compute the destination rectangle accordingly. For a document, you might measure the physical dimensions and scale them to pixels, or use the width and height of the detected quadrilateral.
Interpolation Artifacts
When warping, pixels are resampled. If you are downscaling, cv2.INTER_AREA reduces aliasing. If you are upscaling, cv2.INTER_LINEAR is a good default. For high-quality results, you can experiment with cv2.INTER_CUBIC, but it is computationally more expensive.
Performance Considerations and Optimizations
Perspective transform is a pixel-wise operation. For large images, cv2.warpPerspective can be a bottleneck, especially in real-time applications. The interpolation method and the output size directly affect runtime.
If you only need to transform a small region or a set of points, you can use cv2.perspectiveTransform on the points instead of warping the entire image. This function applies the homography to a list of points and is much faster.
points = np.array([[200, 150], [300, 200]], dtype=np.float32).reshape(-1, 1, 2)
transformed = cv2.perspectiveTransform(points, matrix)
For repeated transforms on the same image, consider precomputing the mapping or using GPU acceleration via OpenCV's CUDA modules if available. However, for most applications, the CPU implementation is sufficient.
Another consideration is memory. The warped image is a new array of the specified output size. If you are processing a video stream, allocate the output buffer once and reuse it to avoid repeated allocation overhead.
When to Use Perspective Transform vs Affine Transform
A perspective transform is more general than an affine transform. An affine transform preserves parallelism and ratios of distances along a line, but it cannot handle foreshortening. It is defined by a 2x3 matrix and can be computed with cv2.getAffineTransform using three point pairs.
| Transform | Point Pairs | Preserves Parallelism | Handles Foreshortening | Use Case |
|---|---|---|---|---|
| Affine | 3 | Yes | No | Rotation, scaling, translation, shear |
| Perspective | 4 | No | Yes | Document correction, perspective distortion |
Use an affine transform when the object is planar and the camera is far enough that perspective effects are negligible, or when you only need rotation and scaling. Use a perspective transform when the object is tilted or photographed at an angle, because affine cannot correct the trapezoidal distortion.
In practice, if you are working with a flat surface and a camera that is roughly perpendicular, affine is simpler and faster. But for document scanning, lane detection, or augmented reality, perspective is the correct tool.
Understanding the difference helps you choose the right function and avoid overcomplicating your code. The perspective transform in OpenCV is a robust, well-tested operation, and with the point ordering and interpolation considerations covered here, you can apply it reliably in your Python projects.