Python OpenCV: Read, Write, Resize, Crop, and Rotate Images
python opencv read write resize crop and rotate images: Practical walkthrough of reading, writing, resizing, cropping, and rotating images with Python OpenCV, covering...
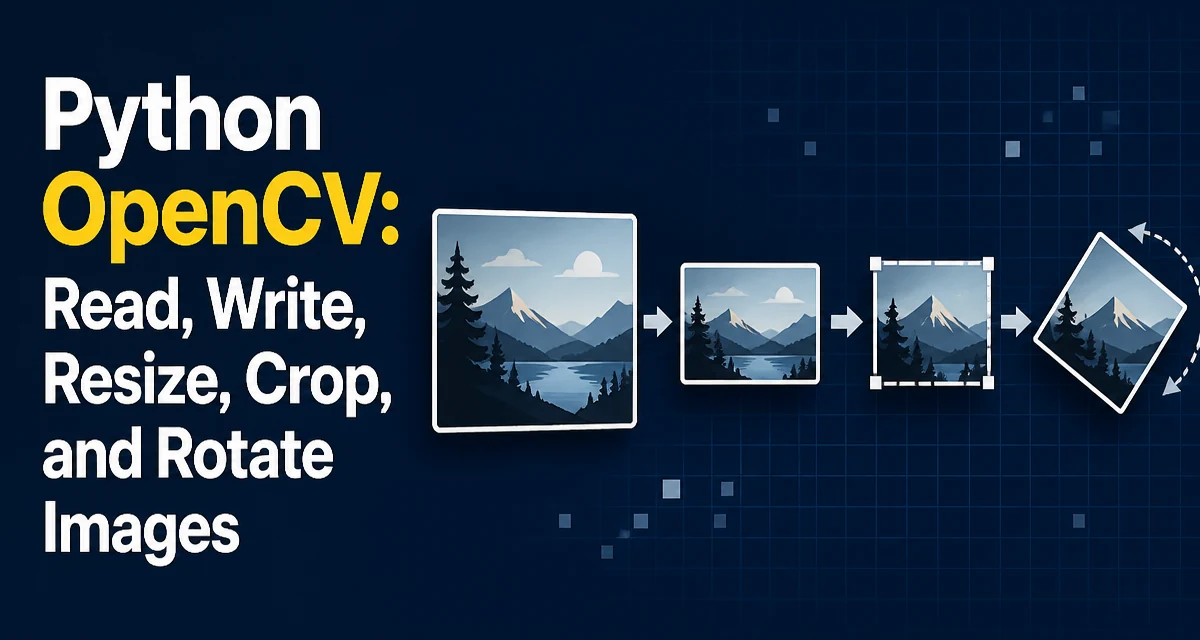
python opencv read write resize crop and rotate images requires a clear understanding of the core syntax, runtime behavior, and practical implementation patterns demonstrated in the examples below.
The core of working with images in Python OpenCV comes down to a few operations: read, write, resize, crop, and rotate. Each one is a single function or a short NumPy expression, but the details around color order, interpolation, and memory behavior determine whether the code works correctly in practice.
Reading Images with cv2.imread
The starting point for any OpenCV workflow is loading the image into memory. cv2.imread takes a file path and an optional flag that controls how the file is decoded.
import cv2

image = cv2.imread("photo.jpg")
print(image.shape)
The returned array has shape (height, width, channels). Height comes first because the data is stored row by row. A color image loaded with the default flag has three channels in BGR order, not RGB. That detail matters as soon as you display the image with matplotlib or pass it to a library that assumes RGB.
The flag parameter changes the decoded format:
cv2.IMREAD_COLOR— the default, loads three BGR channels and discards any alpha channelcv2.IMREAD_GRAYSCALE— loads a single channel, producing shape(height, width)cv2.IMREAD_UNCHANGED— preserves the alpha channel when the file has one
If the file cannot be read, imread returns None instead of raising an exception. Checking for None before calling .shape avoids a confusing AttributeError later.
image = cv2.imread("missing.jpg")
if image is None:
    print("Could not load the file")
Writing Images with cv2.imwrite
cv2.imwrite(path, image) writes an image array to disk. The output format is inferred from the file extension, so .png, .jpg, and .bmp all produce the expected container without extra parameters. The function returns a boolean that reports whether the write succeeded.
ok = cv2.imwrite("output.png", image)
print(ok)
The most common failure causes are a missing output directory and an array with an unexpected data type. Most formats expect uint8 data in the range 0–255. If you have floating-point pixel values, convert them with astype or normalize them before writing.
Encoding quality is controlled with optional parameters passed as a list. For JPEG, the quality value ranges from 0 to 100:
cv2.imwrite("output.jpg", image, [cv2.IMWRITE_JPEG_QUALITY, 92])
For PNG, the compression level ranges from 0 to 9, where 0 disables compression and 9 gives the smallest file at the cost of slower encoding:
cv2.imwrite("output.png", image, [cv2.IMWRITE_PNG_COMPRESSION, 6])
These parameters are per-format. Passing a JPEG quality value while writing a PNG has no effect.
Resizing Images with cv2.resize
cv2.resize takes the source image, a destination size, and an interpolation method. The destination size is (width, height), which is the reverse order of the shape tuple. Mixing the two is a frequent source of distorted output.
resized = cv2.resize(image, (800, 600))
When the target size must preserve the original aspect ratio, compute the dimensions from the source shape instead of hardcoding both values:
height, width = image.shape[:2]
scale = 0.5
new_size = (int(width * scale), int(height * scale))
resized = cv2.resize(image, new_size, interpolation=cv2.INTER_AREA)
The interpolation method affects both quality and runtime cost. INTER_NEAREST is the fastest but produces blocky edges. INTER_LINEAR is the default and works well for most cases. INTER_AREA is the better choice when shrinking an image because it averages pixel regions instead of sampling individual pixels. INTER_CUBIC produces smoother results when enlarging but is noticeably slower.
For a batch of images that must all end up at the same dimensions, compute the target size once and reuse it. Calling resize with the same dimensions repeatedly is cheap, but the interpolation cost scales with the number of output pixels, so reducing the target size is the most direct way to speed up a resize-heavy pipeline.
Cropping Images with NumPy Slicing
OpenCV has no dedicated crop function. Cropping is a NumPy operation: you slice the pixel array by row range and column range.
crop = image[y_start:y_end, x_start:x_end]
The first slice selects rows, which correspond to the y axis, and the second selects columns, which correspond to the x axis. Reversing those ranges produces a transposed region rather than an error, which makes the mistake hard to notice.
A concrete example that extracts a 100×100 region starting at pixel (50, 50):
crop = image[50:150, 50:150]
The slice is a view into the original array in the sense that it shares memory. If you modify the crop in place, the original image changes. For read-only processing this rarely matters, but if you need an independent copy, call .copy() on the result.
Cropping does not resample pixels, so it is effectively free compared with resize or rotate. The cost is the allocation of the new array when you copy, not the slicing itself.
Rotating Images with cv2.rotate and warpAffine
Rotation splits into two cases. For multiples of 90 degrees, cv2.rotate is the simplest option and does not require a transformation matrix:
rotated = cv2.rotate(image, cv2.ROTATE_90_CLOCKWISE)
The available flags are ROTATE_90_CLOCKWISE, ROTATE_90_COUNTERCLOCKWISE, and ROTATE_180. The output dimensions swap for the 90-degree cases because the image becomes taller than it is wide.
For arbitrary angles, build a rotation matrix with cv2.getRotationMatrix2D and apply it with cv2.warpAffine:
height, width = image.shape[:2]
center = (width // 2, height // 2)
matrix = cv2.getRotationMatrix2D(center, 45, 1.0)
rotated = cv2.warpAffine(image, matrix, (width, height))
The third argument to getRotationMatrix2D is the scale factor; 1.0 keeps the image size unchanged. The output size passed to warpAffine is (width, height), so the rotated image keeps the original dimensions and the corners are clipped. To keep the entire image visible, you must compute the new bounding rectangle after rotation and pass that as the output size. The math involves the sine and cosine of the angle applied to the original width and height.
warpAffine uses interpolation internally, so the same interpolation tradeoffs as resize apply. The default INTER_LINEAR is adequate for most rotations.
Color Channel Order and Display
OpenCV stores color images in BGR order. This is a legacy decision from the early days of the library, and it affects every interaction with other tools. If you display an OpenCV image with matplotlib, the red and blue channels appear swapped. The same problem appears when you save an image with a library that assumes RGB.
Convert explicitly with cv2.cvtColor:
rgb = cv2.cvtColor(image, cv2.COLOR_BGR2RGB)
The conversion allocates a new array, so avoid doing it repeatedly in a loop. If you only need grayscale data, load the file directly with IMREAD_GRAYSCALE instead of converting after a color load. That skips the decode of the color channels entirely and reduces memory usage.
Memory and Performance Considerations
Every operation that produces a new array allocates memory. resize, rotate, and cvtColor each allocate a full output array. Cropping alone does not, because slicing shares memory, but copying the crop does allocate.
For large images or batch processing, the practical consequences are visible in memory usage and garbage collection pressure. Loading a 4000×3000 color image consumes about 36 MB as a uint8 array. A pipeline that loads, resizes, rotates, and converts color creates several temporary arrays of similar size before the final result is produced.
The main levers are:
- Load grayscale directly when color is not needed.
- Resize down before rotating or converting color, so the later operations work on fewer pixels.
- Reuse output arrays in loops where the API allows it, or at least avoid repeated color conversions.
- Use
INTER_AREAfor downscaling andINTER_LINEARfor general use; reserveINTER_CUBICfor cases where upscale quality justifies the cost.
These choices matter more when processing video frames or large datasets than in a one-off script, but they are the same operations in both cases.