Python Pillow: Grayscale, Blur, Sharpen, and Image Filters
python pillow grayscale blur sharpen and image filters: Learn to apply grayscale, blur, sharpen, and other filters with Python Pillow. Practical code examples and API...
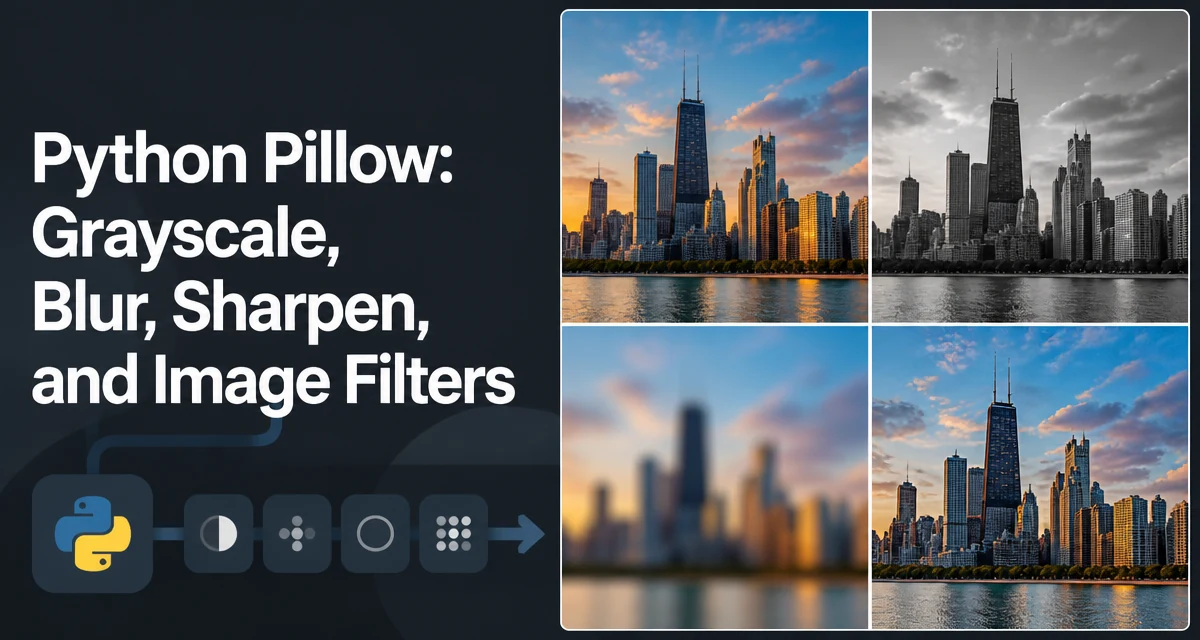
python pillow grayscale blur sharpen and image filters requires a clear understanding of the core syntax, runtime behavior, and practical implementation patterns demonstrated in the examples below.
When you need to apply grayscale, blur, sharpen, or other filters to an image in Python, the Pillow library provides a straightforward API through the ImageFilter module. This article covers the essential filter operations, how to combine them, and what to watch out for when processing large images.
Converting Images to Grayscale with Pillow
The most direct way to convert an image to grayscale in Pillow is the convert() method with the mode "L". This produces an 8-bit grayscale image where each pixel holds a single luminance value.
from PIL import Image

img = Image.open("photo.jpg")
gray = img.convert("L")
gray.save("photo_gray.jpg")
The convert() method is also useful when you need a different color mode. For example, "RGB" converts to true color, and "RGBA" adds an alpha channel. For grayscale, "L" is the standard mode.
If you need a grayscale image with an alpha channel, use "LA" instead. That mode is useful when you want to preserve transparency while removing color information.
Applying Gaussian and Box Blur
Pillow's ImageFilter module includes several blur filters. The two most common are GaussianBlur and BoxBlur. Both accept a radius parameter that controls the blur intensity.
from PIL import Image, ImageFilter

img = Image.open("photo.jpg")

# Gaussian blur with radius 2
gaussian = img.filter(ImageFilter.GaussianBlur(radius=2))
gaussian.save("gaussian.jpg")

# Box blur with radius 3
box = img.filter(ImageFilter.BoxBlur(radius=3))
box.save("box.jpg")
GaussianBlur uses a Gaussian kernel and produces a smooth, natural blur. BoxBlur uses a uniform kernel, which is faster but can create a slightly blocky result at high radii. For most image-processing tasks, GaussianBlur is the safer choice when visual quality matters.
The radius parameter is a float in Pillow, so you can use values like 1.5 for fine control. A radius of 0 leaves the image unchanged.
Sharpening Images with ImageFilter
Pillow provides two built-in sharpening filters: SHARPEN and UnsharpMask. The SHARPEN filter is a simple convolution kernel that increases contrast at edges. UnsharpMask gives more control through three parameters: radius, percent, and threshold.
from PIL import Image, ImageFilter

img = Image.open("photo.jpg")

# Simple sharpen
sharpened = img.filter(ImageFilter.SHARPEN)
sharpened.save("sharpen.jpg")

# Unsharp mask with custom parameters
unsharp = img.filter(ImageFilter.UnsharpMask(radius=2, percent=150, threshold=3))
unsharp.save("unsharp.jpg")
UnsharpMask works by subtracting a blurred version of the image from the original, then scaling the difference. The radius controls the size of the blur, percent controls the amount of sharpening, and threshold prevents noise from being amplified. A higher threshold leaves more low-contrast areas untouched.
For subtle sharpening, start with radius=1, percent=100, and threshold=3. Increase percent gradually until you see the desired effect.
Using Built-in Filters: Edge Detection, Emboss, and More
The ImageFilter module also includes several predefined filters that are useful for computer vision and artistic effects. These include FIND_EDGES, EDGE_ENHANCE, EMBOSS, CONTOUR, and SMOOTH.
from PIL import Image, ImageFilter

img = Image.open("photo.jpg")

edges = img.filter(ImageFilter.FIND_EDGES)
edges.save("edges.jpg")

emboss = img.filter(ImageFilter.EMBOSS)
emboss.save("emboss.jpg")
FIND_EDGES highlights areas where the intensity changes rapidly, producing a black-and-white edge map. EMBOSS gives the image a raised, metallic look. These filters are implemented as fixed convolution kernels, so they are fast but not customizable.
If you need a custom convolution kernel, use ImageFilter.Kernel with a matrix. For example, a 3x3 edge-detection kernel:
from PIL import Image, ImageFilter

kernel = ImageFilter.Kernel(
    size=(3, 3),
    kernel=[-1, -1, -1,
            -1,  8, -1,
            -1, -1, -1],
    scale=1,
    offset=0
)

edges = img.filter(kernel)
The scale parameter divides the result, and offset is added to each pixel. This gives you full control over the convolution operation.
Combining Filters for a Custom Effect
Filters can be chained to produce effects that no single filter can achieve. For example, you might want to blur an image first to remove noise, then sharpen it to restore edge definition. Or you might convert to grayscale and then apply an edge-detection filter for a sketch-like result.
from PIL import Image, ImageFilter

img = Image.open("photo.jpg")

# Grayscale + edge detection
gray = img.convert("L")
sketch = gray.filter(ImageFilter.FIND_EDGES)
sketch.save("sketch.jpg")

# Blur then sharpen to reduce noise
blurred = img.filter(ImageFilter.GaussianBlur(radius=1))
restored = blurred.filter(ImageFilter.UnsharpMask(radius=2, percent=120, threshold=2))
restored.save("restored.jpg")
When chaining filters, each step creates a new image object. For large images, this can increase memory usage significantly. Consider whether you can process the image in-place or use a single custom kernel instead of multiple filter calls.
Performance and Memory Considerations When Processing Large Images
Filter operations in Pillow are CPU-bound and can be slow on large images. A 4000x3000 image contains 12 million pixels, and each filter pass iterates over all of them. For batch processing, consider the following:
- Use
Image.filter()with a single filter rather than chaining many simple ones when possible. - For blur,
BoxBluris faster thanGaussianBlurbecause it uses a separable kernel and runs in linear time. If speed is critical and the visual difference is acceptable, preferBoxBlur. - When working with many images, process them in a loop and release references to intermediate images by reassigning variables or using
withblocks.
from PIL import Image, ImageFilter

for filename in ["a.jpg", "b.jpg", "c.jpg"]:
    with Image.open(filename) as img:
        processed = img.filter(ImageFilter.GaussianBlur(radius=2))
        processed.save(f"blurred_{filename}")
The with block ensures the file handle is closed. Intermediate images are garbage-collected when they go out of scope, but for very large batches, you may want to call del explicitly or use a processing library like multiprocessing to parallelize.
Choosing the Right Filter for Your Use Case
Selecting the correct filter depends on the goal. For a quick thumbnail or preview, BoxBlur with a small radius is sufficient. For a professional photo edit, GaussianBlur and UnsharpMask give better control.
| Filter | Use case | Speed | Control |
|---|---|---|---|
GaussianBlur | Smooth, natural blur | Medium | High |
BoxBlur | Fast blur for previews | Fast | Low |
SHARPEN | Quick sharpening without parameters | Fast | Low |
UnsharpMask | Precise sharpening with threshold | Slow | High |
FIND_EDGES | Edge detection for vision tasks | Fast | None |
Kernel | Custom convolution | Varies | Full |
If you need to apply the same filter to many images, consider precomputing a Kernel object and reusing it. Creating a new Kernel for each image repeats the same matrix validation and setup work.
For production pipelines, test the filter output on representative samples before applying it to the entire dataset. The visual effect of a given radius or threshold can vary with image content, so a fixed set of parameters may not work for every image. A small validation set will help you tune the parameters before running a large batch.