PyTorch Tensor Creation, Indexing, and NumPy Conversion
python pytorch tensor creation indexing and numpy conversion: Learn how to create PyTorch tensors, index and slice them effectively, and convert between tensors and Nu...
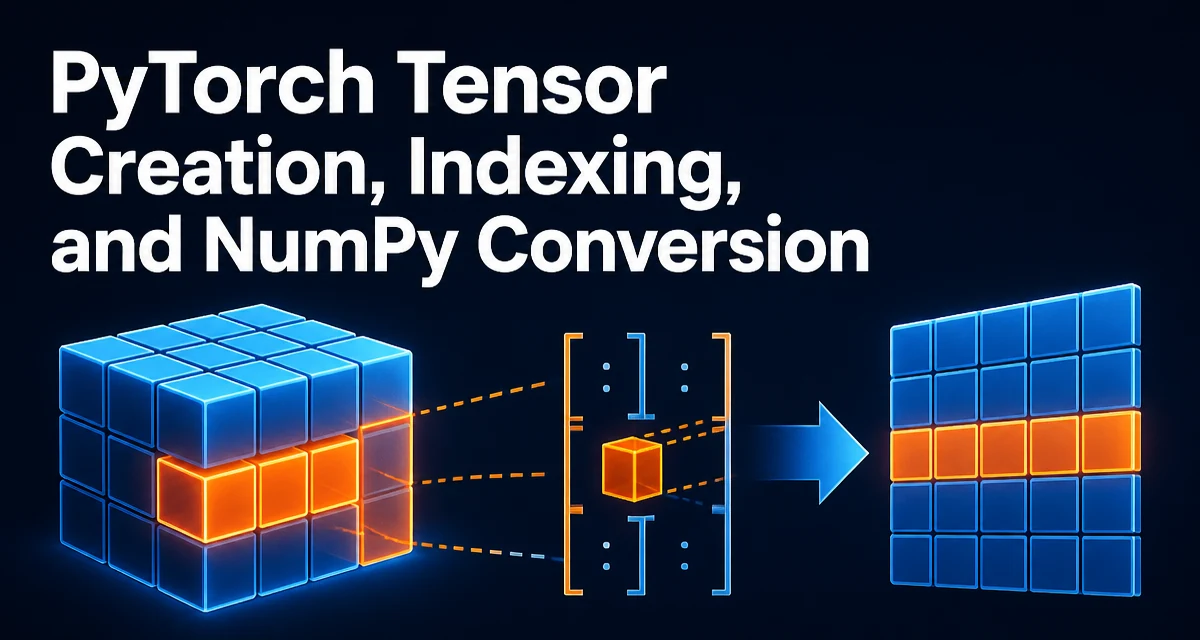
When working with PyTorch, you'll constantly create tensors, access their elements, and move data between PyTorch and NumPy. The APIs for python pytorch tensor creation indexing and numpy conversion are straightforward, but a few details about memory sharing, device placement, and indexing semantics can trip up even experienced developers. This article covers the essential operations and the behaviors you need to understand to use them safely.
Creating Tensors from Data and Shapes
The most direct way to create a tensor is from an existing Python list or NumPy array using torch.tensor:
import torch
import numpy as np

data = [[1, 2], [3, 4]]
t = torch.tensor(data)
print(t)
# tensor([[1, 2],
#         [3, 4]])
torch.tensor always copies the data, so the resulting tensor is independent of the original list. If you need a tensor with a specific shape filled with zeros, ones, or random values, use the factory functions:
zeros = torch.zeros(2, 3)
ones = torch.ones(2, 3)
rand = torch.randn(2, 3)  # standard normal distribution
arange = torch.arange(0, 10, 2)  # [0, 2, 4, 6, 8]
Each factory function takes a shape tuple or variadic dimensions. The dtype parameter lets you control the element type, and device places the tensor on CPU or GPU:
t_float = torch.ones(2, 2, dtype=torch.float32)
t_gpu = torch.zeros(2, 2, device='cuda')
Note the difference between torch.tensor and torch.Tensor. torch.tensor is a function that infers dtype and copies data. torch.Tensor is a class constructor that defaults to torch.float32 and does not copy when passed an existing tensor. Prefer torch.tensor for creating tensors from data.
Indexing and Slicing Basics
PyTorch tensor indexing follows Python sequence semantics closely, but with additional capabilities for multi-dimensional data. The basic syntax is tensor[start:stop:step] for each dimension:
t = torch.arange(12).reshape(3, 4)
# tensor([[ 0,  1,  2,  3],
#         [ 4,  5,  6,  7],
#         [ 8,  9, 10, 11]])

print(t[1])        # row index 1 -> tensor([4, 5, 6, 7])
print(t[:, 2])     # column index 2 -> tensor([2, 6, 10])
print(t[1:, :2])   # rows 1 and 2, columns 0 and 1
Slicing returns a view of the original tensor, not a copy. Modifying the slice modifies the original data. This is efficient but can lead to subtle bugs if you expect a copy. Use .clone() when you need an independent tensor.
Advanced Indexing with Lists and Boolean Masks
Indexing with a list of integers selects specific rows or columns, but this returns a copy, not a view:
indices = [0, 2]
selected = t[indices]  # rows 0 and 2, a copy
Boolean masking lets you select elements that satisfy a condition:
mask = t > 5
print(t[mask])  # tensor([ 6,  7,  8,  9, 10, 11])
The result is a 1D tensor containing the elements where the mask is True. Boolean masks are invaluable for filtering and conditional operations, but they always copy data.
Converting Between PyTorch Tensors and NumPy Arrays
Conversion between PyTorch tensors and NumPy arrays is common when integrating with libraries that expect NumPy input. Use .numpy() to convert a CPU tensor to a NumPy array:
cpu_tensor = torch.arange(5)
np_array = cpu_tensor.numpy()
print(np_array)  # [0 1 2 3 4]
The returned array shares memory with the tensor. Modifying the array changes the tensor, and vice versa. This is efficient but can cause surprising side effects. If you need an independent copy, call .copy() on the NumPy array.
To convert a NumPy array to a PyTorch tensor, use torch.from_numpy:
arr = np.array([1, 2, 3])
tensor = torch.from_numpy(arr)
Again, the tensor shares memory with the array. Changes to the array are reflected in the tensor. If you want a separate tensor, use torch.tensor(arr) which copies the data.
For tensors on the GPU, you must first move them to CPU before calling .numpy():
gpu_tensor = torch.zeros(2, device='cuda')
cpu_tensor = gpu_tensor.cpu()
np_array = cpu_tensor.numpy()
torch.from_numpy only works with CPU tensors; it cannot create a GPU tensor directly. Use torch.tensor(arr, device='cuda') or move the tensor after creation.
Memory Sharing and Its Consequences
The memory sharing between tensors and NumPy arrays is a common source of bugs. Consider this example:
arr = np.ones(3)
tensor = torch.from_numpy(arr)
arr[0] = 99
print(tensor)  # tensor([99.,  1.,  1.])
The tensor reflects the change because it points to the same memory. This behavior is intentional and documented, but it means you must be careful when passing tensors to functions that might modify NumPy arrays in place.
Similarly, slicing a tensor returns a view that shares memory. If you slice and then convert to NumPy, the conversion shares memory with the slice, which still references the original tensor's memory. This can lead to unexpected writes if you're not aware of the relationship.
When you need to detach a tensor from the computation graph and convert it to NumPy, you must call .detach() first:
x = torch.tensor([1.0], requires_grad=True)
y = x * 2
np_y = y.detach().numpy()  # works
# np_y = y.numpy()  # RuntimeError: Can't call numpy() on Tensor that requires grad.
Tensors that require gradients track operations for backpropagation. Calling .numpy() directly on such a tensor raises an error because NumPy cannot participate in autograd. Always use .detach() to get a tensor without gradient tracking.
Performance and Device Considerations
Creating tensors and converting between formats has runtime costs. torch.tensor and torch.from_numpy differ in memory behavior: torch.tensor copies, while torch.from_numpy shares. Choose the one that matches your intent to avoid unnecessary copies or accidental aliasing.
When working with large arrays, copying data between CPU and GPU is expensive. Minimize the number of transfers by keeping data on the same device as long as possible. For example, if you're doing a series of operations, convert from NumPy once, perform all tensor operations, then convert back once at the end.
Indexing with boolean masks or advanced indexing returns copies, which allocate new memory. If you're repeatedly applying masks in a loop, consider whether you can restructure the computation to reuse a single mask or use views where possible.
Finally, be aware that NumPy's default integer type is int64, while PyTorch's default is int64 as well, but floating-point defaults differ: NumPy uses float64 while PyTorch uses float32. When converting, the dtype is preserved, but if you create a tensor with torch.tensor from a NumPy array, the dtype is inferred from the array. This can lead to unexpected precision loss if you later move to GPU, where float32 is common. Explicitly set the dtype when needed:
arr = np.array([1.5, 2.5])
tensor = torch.tensor(arr, dtype=torch.float64)
Understanding these conversion and indexing behaviors will help you avoid subtle bugs and write more efficient PyTorch code. The key is to know when data is shared and when it is copied, and to match the device and dtype expectations of your model and data pipeline.